How to Access Router Switch Using Console Port in Packet Tracer.
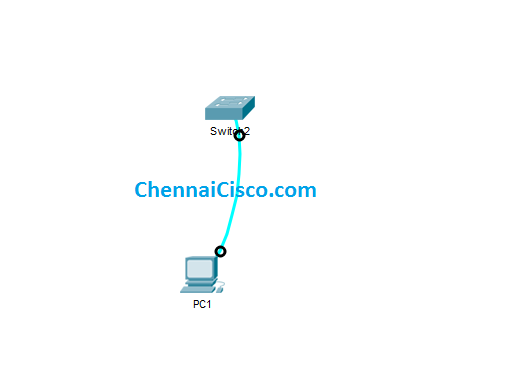
Step:1Create a topology with Switch and PC like below
Step 2:
Connect Switch and PC with Console Cable,Select the cable that is marked in below image
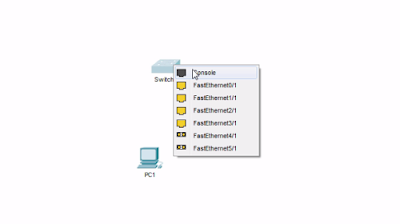
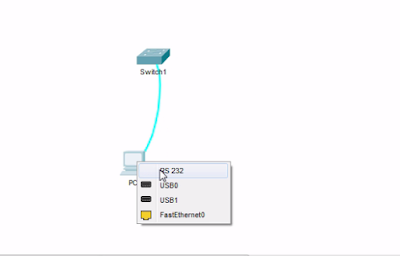
Place the cursor on Switch, then right click on it.It will show list of available interfaces that can be used,Choose Console Port Option and then right click on PC select RS 232 Option in list.
Step 3:
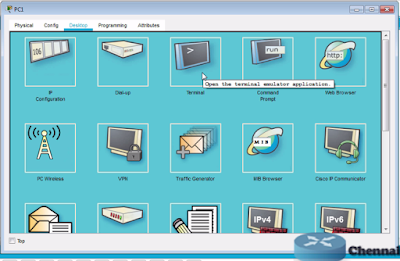
Accessing Switch using PC Terminal Option.Click On PC>Desktop>Terminal
Once we clicked on terminal emulator application in PC Desktop Options,a window will open with Default Terminal Configuration.
Default Configurations
Bits Per second-9600
Data bits -8
Parity - None
Stop Bits- 1
Flow Control - None
we should use above configuration when we access cisco devices with console.Once we click on Ok and it will give access to switch CLI.Now we got an access to switch using console.
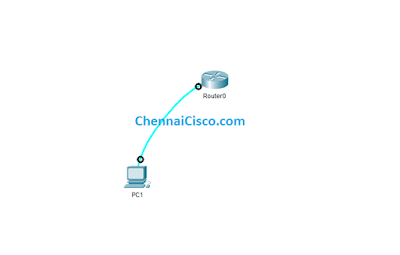
Same way we can get router access using console.
- Router Console Configuraion in Packet Tracer.
- Switch Console Configuration in Packet Tracer and Get Console Access



Post a Comment